Why Heat Shrink Butt Connectors Are the Best Choice for Secure Wiring (And How to Use Them)
Share
Intro
If you’ve ever dealt with a failed wire connection—whether it corroded, came loose, or simply couldn’t hold up to vibration—you understand the frustration. Especially in environments where moisture or movement is a factor, the quality of your connection makes all the difference. That’s where heat shrink butt connectors come in.
These small but powerful components are changing the way professionals and DIYers handle wiring. Whether you're working on a car stereo, boat lighting system, or backyard lighting, having a reliable seal and connection can save time, money, and headaches.
What Are Heat Shrink Butt Connectors?
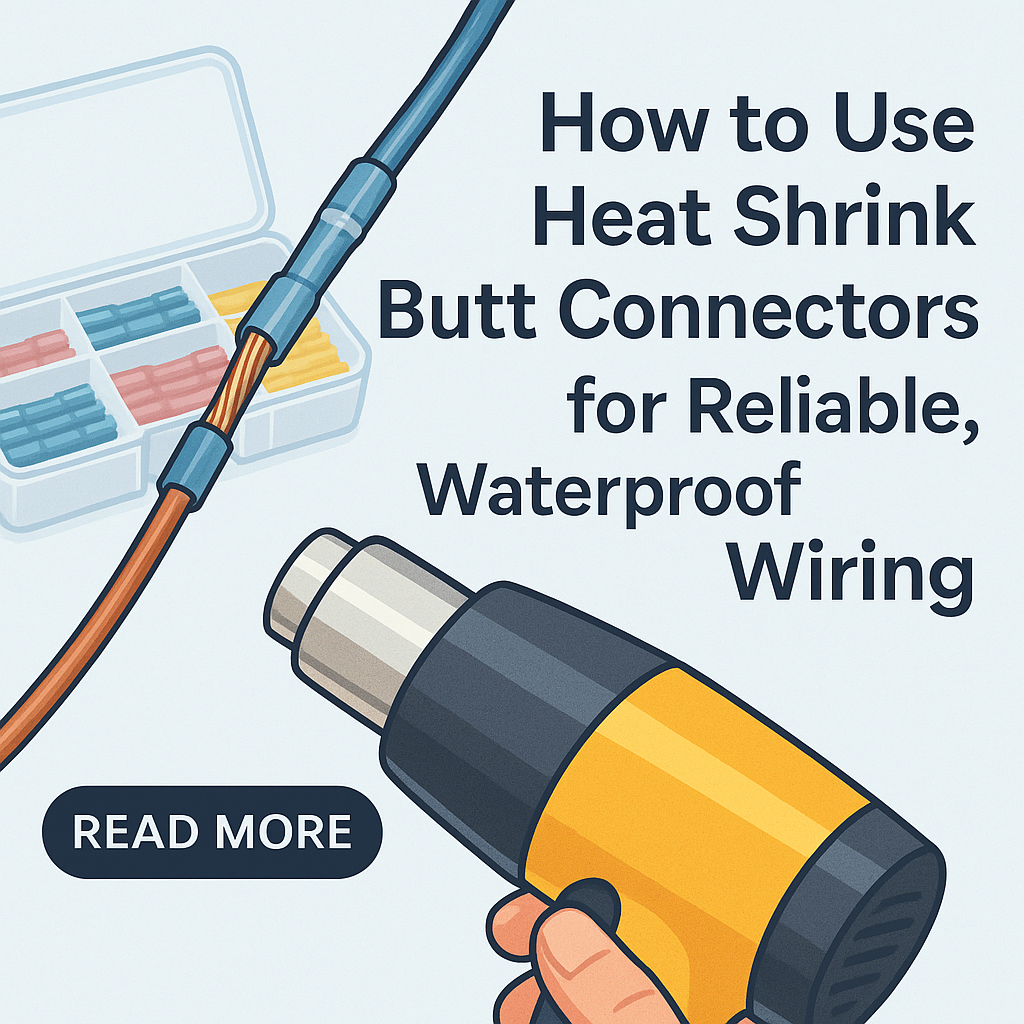
A heat shrink butt connector is a type of wire splice that includes a crimpable copper barrel inside a heat-activated plastic sleeve. Once the wires are inserted and crimped, you apply heat, causing the tubing to shrink and the internal adhesive to seal the connection.
They’re popular in:
- Automotive wiring (stereos, tail lights, sensors)
- Marine environments (navigation lights, bilge pumps)
- Home electrical or 12V installations (landscape lighting, solar setups)
Looking for a trusted option? Our 200PCS Heat Shrink Connector Kit is made for professionals and weekend warriors alike. It ships fast from our U.S. warehouse and comes with all the sizes you’ll need.
👉 https://nuvianshop.store/products/200-100-pcs-heat-shrink-butt-wire-connectors-waterproof-crimp-terminals-for-22-10-awg
Why Use Heat Shrink Connectors Over Standard Crimps?
Traditional crimp connectors may be cheaper, but they don’t offer the protection and strength you’ll get with heat shrink.
Here’s why heat shrink wins:
- Waterproof: Heat-activated adhesive seals the connection against moisture
- Durable: Resists corrosion, vibration, and mechanical stress
- Clear tubing: Lets you visually confirm the crimped connection
- Longer-lasting: Especially in harsh or outdoor conditions
How to Use Heat Shrink Butt Connectors (Step-by-Step)
- Strip about 1/4 inch of insulation from each wire
2. Insert each wire into either side of the connector until they meet in the middle
3. Crimp firmly using a quality crimping tool
4. Heat the tubing evenly with a heat gun until it shrinks and adhesive oozes slightly
5. Inspect: You should see a tight seal with adhesive visibly melted
Pro Tip: Always use a heat gun instead of a lighter or torch to avoid damaging the tubing.
Common Use Cases
- Cars & Trucks – From stereo installations to trailer wiring
- Boats & RVs – Built-in waterproofing helps combat saltwater and humidity
- Home Projects – 12V garden lights, low-voltage wiring, and more
What to Look for in a Quality Connector Kit
- Tinned Copper Core – Better conductivity and corrosion resistance
- Heat Shrink with Adhesive – Look for dual-wall tubing
- Clear Size Labeling – Red (18–22 AWG), Blue (14–16 AWG), Yellow (10–12 AWG)
- Organized Case – Keeps things simple during installs
Final Thoughts
If you're serious about doing the job right the first time, investing in quality wire connectors is a no-brainer. Heat shrink butt connectors offer a professional-grade connection, minus the pro price tag. They're easy to use, reliable, and perfect for any wiring project where long-term performance matters.
Related Resources
- How to Crimp Wire Connectors Like a Pro – Crutchfield Guide (https://www.crutchfield.com)
- Marine Wire & Heat Shrink Tips – Panbo Blog (https://panbo.com)
